How to Put Lights on a Christmas Tree Like a Pro (Without Tangles or Dark Gaps)
You know the routine. You walk around the tree in circles holding a ball of green wire, getting dizzier with every lap, snagging your sleeve on branches. Twenty minutes later you reach the end of the strand, look down and realize the plug is dangling four feet from the outlet. Again.
The real problem is the round-and-round spiral itself. When you wrap lights around the outside, every bulb ends up on the outer tips. The middle of the tree stays hollow and dark, so it glows flat instead of deep, and gaps show up everywhere once the ornaments go on.
Professional decorators work differently. They light vertically, in sections, and they string from the trunk out to the tips so the glow comes from inside the tree. They also keep the lights plugged in the whole time so dark spots show up immediately.

So here’s exactly how to put lights on a Christmas tree like a pro, starting with how many bulbs you actually need and ending with an easy January teardown. Once you see how much warmth good tree light adds, you’ll want to treat the whole room the same way, which is exactly what my warm cozy home lighting ideas are all about.
The Bulb and Cord Calculator Cheat Sheet
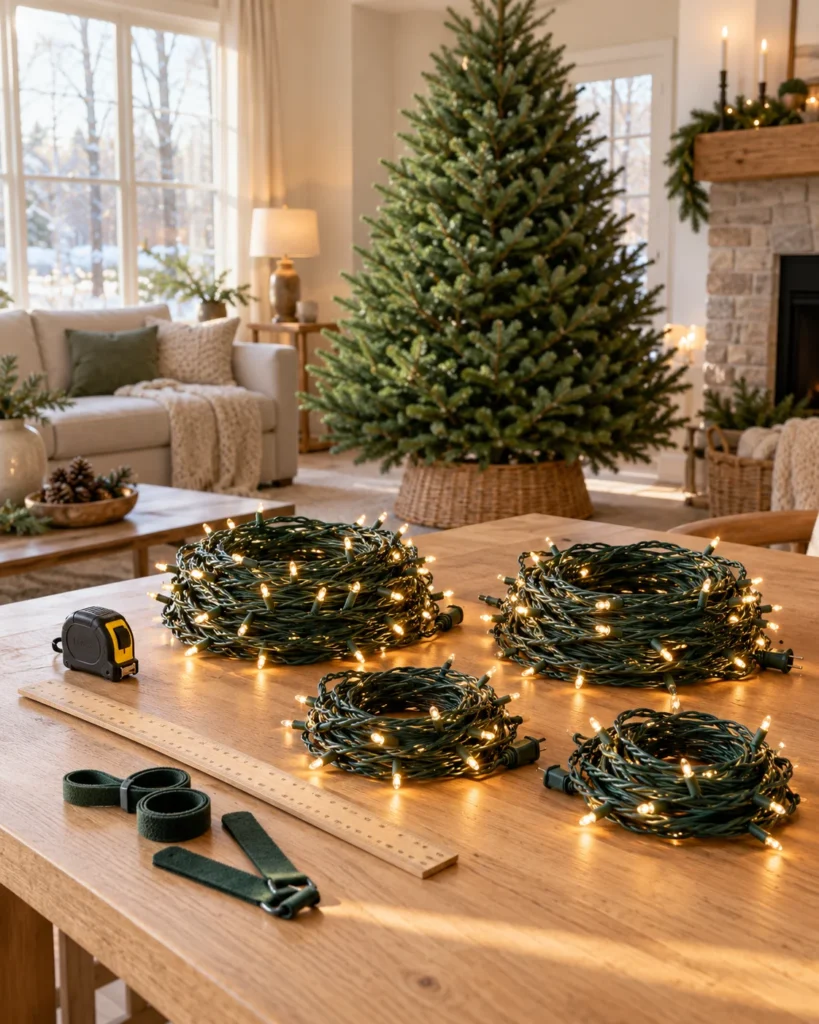
A simple rule most decorators use is about 50 bulbs per foot of tree height for a soft glow and around 100 bulbs per foot for a full designer look. Cord length below assumes common 100-bulb mini strands of roughly 33 feet each, so check your own box.
Swipe sideways on mobile to see the full table.
| Tree Height | Subtle Glow | Designer Standard | Total Cord Needed | Max Strings Safe to Connect |
|---|---|---|---|---|
| 6-Foot Tree | About 300 bulbs | About 600 bulbs | About 100 to 200 ft | LED mini sets often allow 20 or more strands end to end. Traditional incandescent mini sets are often limited to around 3. Always follow the limit printed on your box or plug tag. |
| 7.5-Foot Tree | About 375 to 400 bulbs | About 750 bulbs | About 125 to 250 ft | |
| 9-Foot Tree | About 450 bulbs | About 900 bulbs | About 150 to 300 ft | |
| 12-Foot Tree | About 600 bulbs | About 1,200 bulbs | About 200 to 400 ft |
Using the trunk-to-tip method? Add about 25% more lights, since wrapping the interior uses extra cord.
Pre-Flight Preparation: 4 Non-Negotiable Checks
1. The Floor Test
Plug in every strand on the floor and let it run for about 5 minutes before it goes near a branch. A dead section is a two-minute fix on the floor and a half-hour headache once it’s woven in.
2. Match Wire to Tree
Use green wire for real or green artificial trees, and white wire for flocked or white trees. The cord disappears into the branches instead of showing.
3. The Plug Direction Rule
Start with the male plug end at the bottom of the tree, near your outlet, and work up. That way each new strand plugs into the one before it, and you never end with a plug at the top.
4. Set Up the Base Power
Before you start, put a surge protector power strip and a foot tap switch at the base, hidden under where the tree skirt will go. Every section plugs in there, and you switch the whole tree on with your toe.
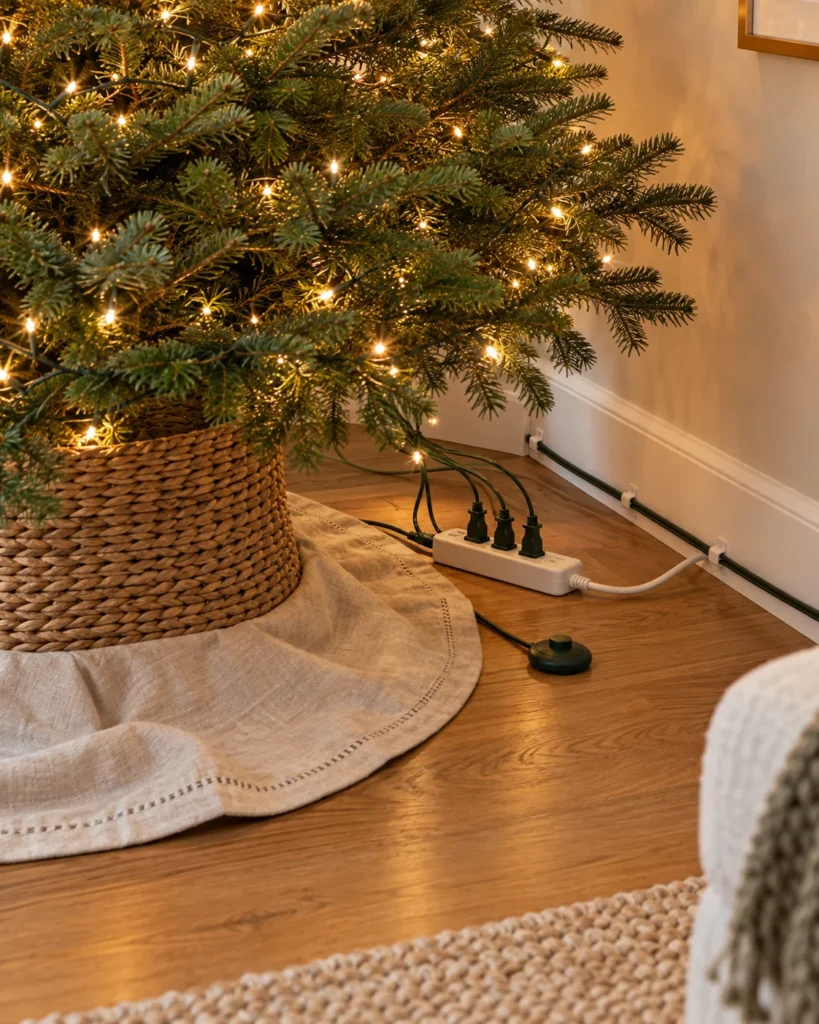
A friend once spent a whole evening wrapping 700 lights onto her tree, only to find the middle strand was dead. She had skipped the floor test. Two hours later, she was on her knees unwinding half the tree to swap out one strand.
The fix: Test every strand on the floor first. It feels like a wasted five minutes until it saves you two hours.
3 Pro Stylist Lighting Techniques
Pick the method that fits your tree and your patience. All three beat the old spiral.
Method 1: The Viral Vertical S-Curve Technique
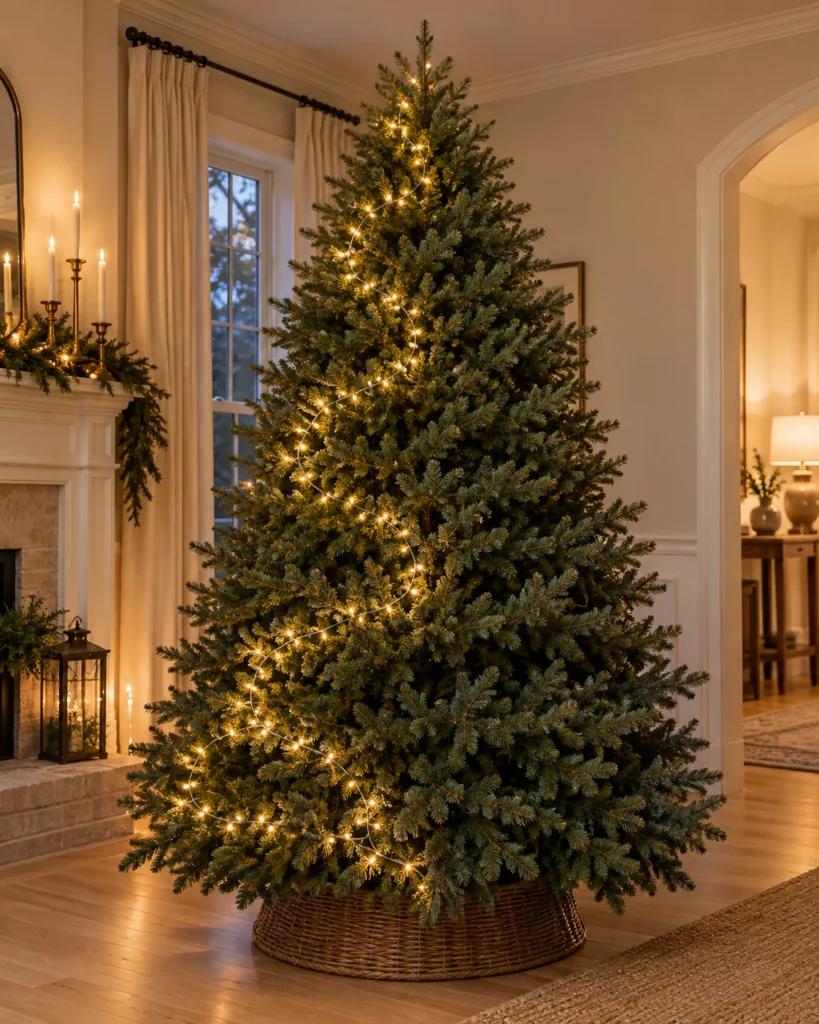
Best for · fast setup and easy teardown
Instead of walking around the tree, you work one section at a time, going up and down in long vertical zigzags. You stay standing in one spot, the cord stays in your hands and nothing spins.
Step by step:
- Picture the tree divided into vertical wedges, like slices of a pie, each about 1 to 2 feet wide at the bottom.
- Plug in the first strand at the base and start at the bottom corner of the first wedge.
- Weave the lights straight up to the crown in a loose S shape, tucking them a few inches into the branches as you go.
- Loop over at the top and zigzag back down the next wedge.
- Keep going wedge by wedge around the tree, plugging in a new strand whenever one runs out.
Why it’s worth it: In January, each strand pulls straight off its wedge in one easy line. What used to take two hours of unwinding can take about fifteen minutes, and the lights come off untangled.
Method 2: The Trunk-to-Tip Dimensional Wrap
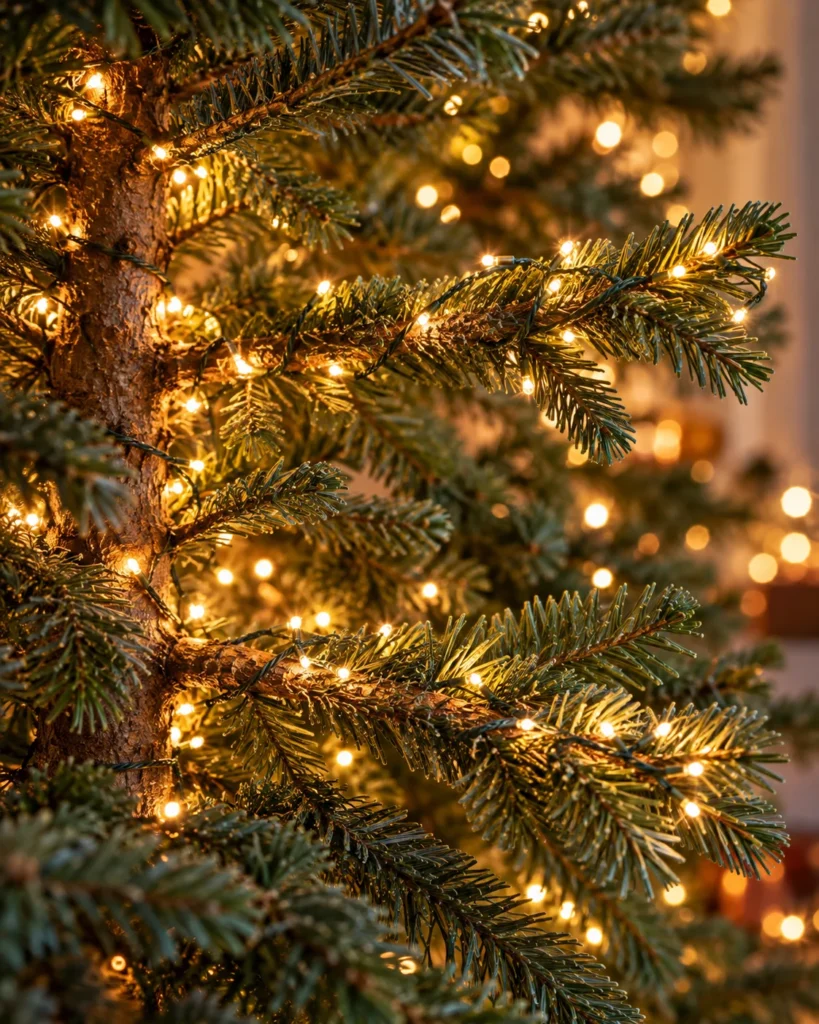
Best for · maximum depth and a luxury glow
This is how department store and hotel trees get that glowing-from-within look. You light the inside first, then the branches, so the light comes from deep in the tree and fills every gap.
Step by step:
- Start with one strand and wrap the center trunk tightly from bottom to top. This creates a soft inner glow that hides empty spaces.
- With the next strand, start at the trunk on a main branch near the bottom.
- Run the lights out along the top of the branch to the tip, wrap once around the tip, then weave back along the underside to the trunk.
- Move to the next branch and repeat, working your way around and up the tree.
- On the top third, where branches are short, you can switch to light weaving rather than full branch wraps.
Why it’s worth it: Light at different depths creates shadow and dimension, so the tree looks full in person and especially in evening photos. It does take longer and uses more lights, so budget your time and add about 25% to your bulb count.
Method 3: The 3-Zone Quadrant Weave
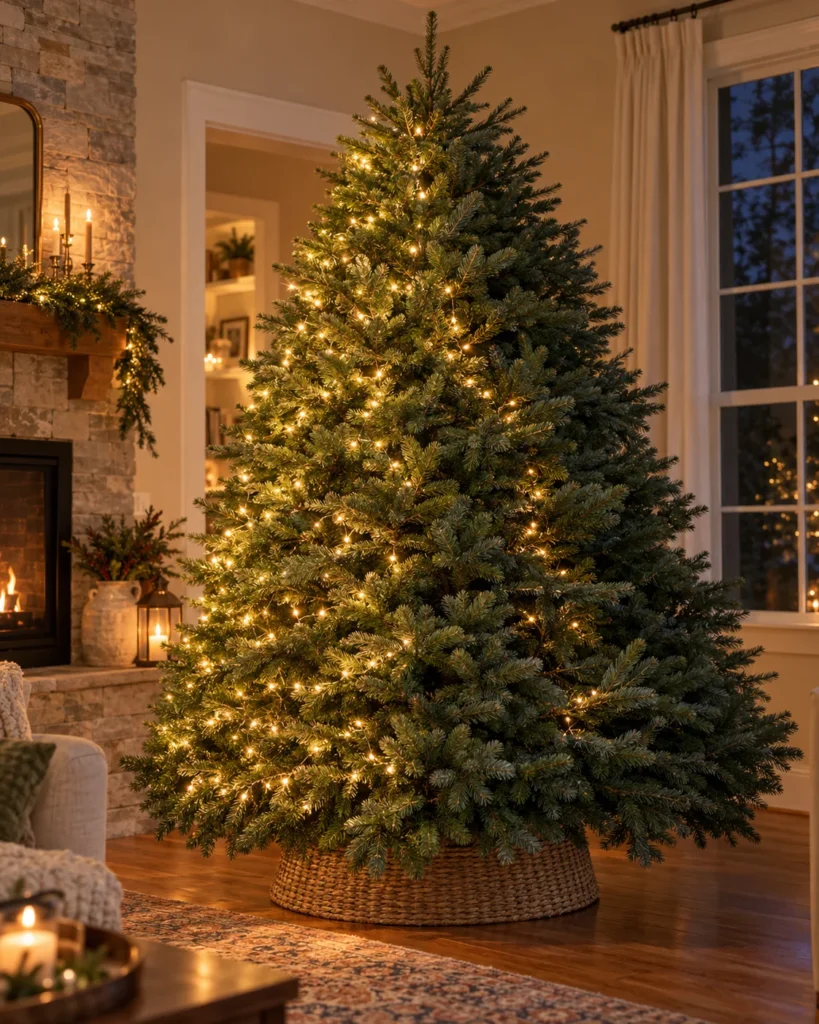
Best for · wide, bushy real trees
Big real trees are hard to light in one long run. Splitting the tree into zones keeps every strand short, tidy and easy to fix.
Step by step:
- Visually divide the tree into three tall triangles: front left, front right and back.
- Give each zone its own strand or set of strands, starting at the bottom of that zone.
- Light each zone with a vertical zigzag, weaving a few inches deep.
- Run each zone’s plug straight down the trunk to the power strip at the base.
Why it’s worth it: No cords cross the front of the tree, branches don’t get pulled out of shape, and if one zone goes dark, you only fix that zone. Real trees also stay safer, since you can check each section for heat and wear easily.
A reader daisy-chained six old incandescent strands together on her real tree because the plug reached perfectly. A few hours later, the bottom strand went dark and the plug felt hot. The little fuse inside had blown, which was the strand’s way of protecting itself from overload.
The fix: Never connect more strands than the box allows. For bigger trees, run separate strands to a power strip at the base, or switch to LEDs, which draw much less power.
4 Common Tree-Lighting Mistakes and How to Fix Them
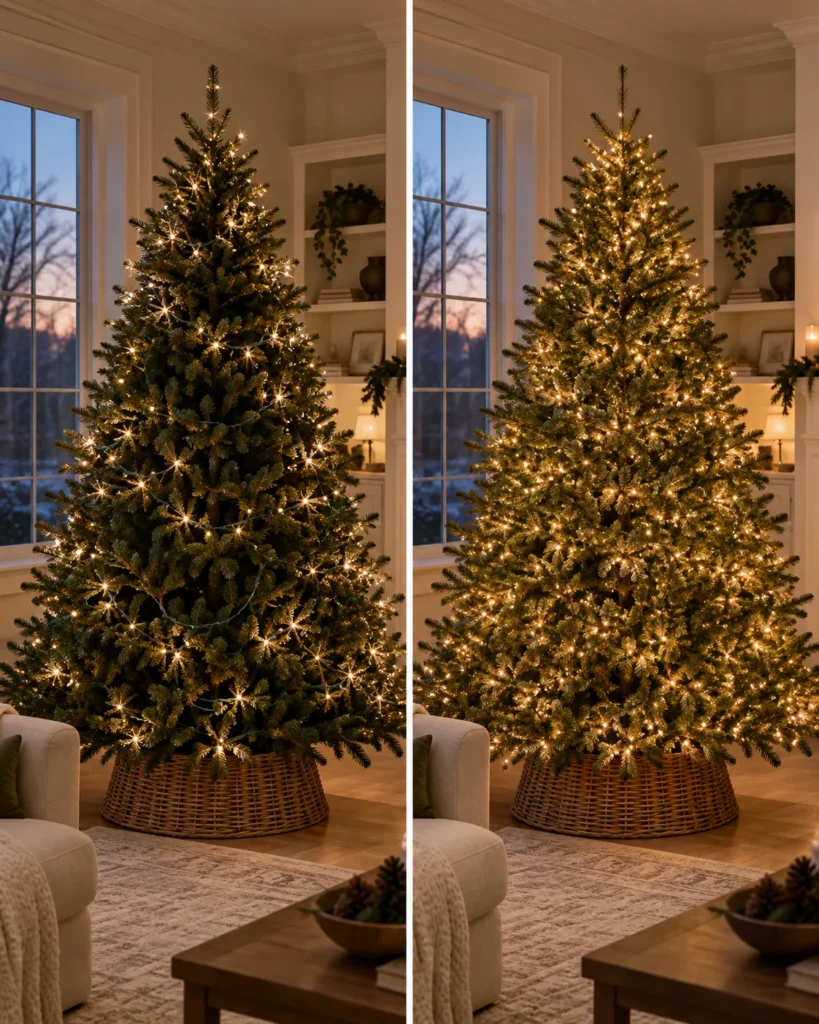
- Hanging lights while they’re turned off. Unlit strands hide gaps until it’s too late. Keep every strand plugged in and glowing as you work, and step back every few minutes. Dark spots jump out right away, and you can fix them as you go.
- Overloading daisy chains. LED mini lights use very little power, so many sets can connect 20 or more strands safely. Traditional incandescent sets draw much more, and many are limited to around 3 strands. Read the tag on the plug, and never go past the limit.
- Showing green cords on the outer branches. Use the tuck and twist trick. Push any loose cord a few inches deeper into the branch, then twist a few needles or branch tips around it to hold it in place. The cord disappears and the bulbs stay where you want them.
- Leaving a dark gap. You don’t need to restring the whole tree. Find the nearest loop of lights, unclip just that section, and pull one loop deeper or wider into the empty spot. Re-tuck it, and the hole is filled in under a minute.
Warm White · 2700K
Cozy, candlelit glow. The best choice for most living rooms.
Cool White · 5000K
Crisp and icy. Works for some modern looks, but can feel cold.
Real Tree vs. Artificial Tree: Quick Safety Notes
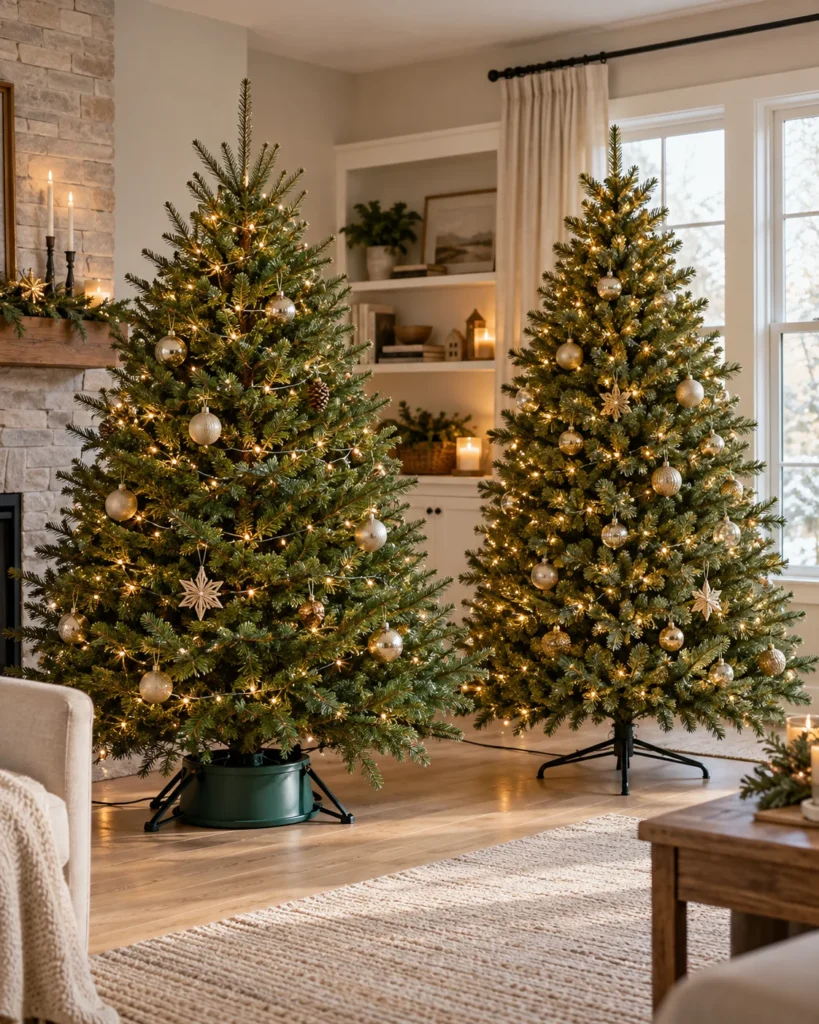
- Real trees: Water the stand every day, because a dry tree catches fire far more easily. LED lights run much cooler than incandescent ones, which makes them the safer pick for live branches.
- Pre-lit artificial trees: If a section goes dark, check the fuse in the plug and any loose bulbs before adding new strands. Extra strands on a pre-lit tree can push the circuit past its limit.
- Every tree: Toss strands with cracked wires or crushed sockets, and switch the tree off before bed or when you leave the house. A timer or smart plug makes this automatic.
Safe, warm light is a big part of the cozy, lived-in style we share at Living Style Bliss, and it matters most on the tree, where lights stay on for hours every night.
Finishing Touches Around the Room

Once the tree glows, carry a little of that light around the room. Wind a leftover strand through your mantel garland, the way I style it in my Thanksgiving mantel decor ideas, so the tree and fireplace feel connected.
Hide your power strip and foot switch under the tree skirt, then layer a soft throw and a basket nearby, like the cozy setups in my cozy Thanksgiving living room ideas. Keep cords along the wall and behind furniture, the same tidy approach I use in my fall living room decor ideas.
Got a spare strand of fairy lights? Drape it along your headboard for a calm bedside glow, like the setups in my minimalist bedroom hygge styling guide.
Frequently Asked Questions
Should you put lights on a Christmas tree from the top or the bottom?
Start at the bottom, near your outlet, with the plug end first. Working upward means each new strand plugs into the last one, and you never end up with a plug stuck at the top.
How many feet of lights do I need for a 7.5-foot Christmas tree?
For a full designer look, plan on about 750 bulbs, which is roughly 250 feet of standard mini lights. For a softer glow, about half that amount works well.
What is the easiest way to take lights off a Christmas tree without tangling?
Unplug everything and remove one strand at a time, following the same path you used to hang it. Wrap each strand around a piece of cardboard or an empty paper towel tube before moving to the next.
There’s a quiet moment every December that makes all of this worth it. You switch off the overhead lights, tap the foot switch, and the tree fills the room with a soft, deep glow from the inside out. Now that you know how to put lights on a Christmas tree like a pro, that moment can happen without a single tangle. Pin this guide to Pinterest so it’s ready when the boxes come out next year.